Help center
PetDrivr help for transport operators.
Quick answers for setting up your trial, activating your booking form, managing requests, clients, routes, billing, and account settings.
Start here
The main help topics.
PetDrivr is the booking system built for pet transporters. Use these sections when you need to set up the product, answer a client, or manage your plan.
Need the simple explain-it-to-anyone version? Read this workflow guide →
NewStep-by-step Getting Started guide →
Getting started
Create your account and start the trial.
Every new transporter account starts with full access for 14 days. No credit card is required to begin.
How do I sign up?
Go to app.petdrivr.com/signup and enter your details. You'll receive a confirmation email. Click the link in that email to activate your account, start your 14-day free trial, and open Guided setup.
What's included in the free trial?
Everything. Booking form, client database, calendar, automated emails, routes, and client management. Full access for 14 days — no credit card required.
What happens after the trial?
Your plan continues at $29/month, or $290/year if you choose annual. If you don't add payment before the trial ends, your booking form pauses. Your data stays intact and you can reactivate anytime from .
Where does my dashboard start?
New operators see Guided setup first. After setup, or if you click Skip for now, you land on the Dashboard — an overview with your stats, upcoming bookings, and quick actions. Use the top navigation to move between Dashboard, Routes, Bookings, Calendar, Clients, and Settings.
What is Guided setup?
Guided setup is a short first-run wizard that asks how you run your transport business, how you price jobs, and what you want to set up first. PetDrivr uses those answers to fill in starter profile details, booking terms, transport flags, and rate defaults. You can edit everything later.
Can I skip Guided setup?
Yes. Click Skip for now to go straight to the dashboard. The Getting Started card includes a Guided setup → button so you can come back to it later.
What is the Getting Started checklist?
Your dashboard shows a 5-step checklist that walks you through activating your account. It also includes a Guided setup → button if you want PetDrivr to fill in starter settings from a few quick choices. Each checklist step checks off automatically once the action is complete — no manual tracking needed.
What are the 5 setup steps?
- Step 1 — Complete your profile: Add your business name and phone number in .
- Step 2 — Set your rates: Save a pricing method in so PetDrivr can generate estimates for you.
- Step 3 — Post your first route: Add at least one route in .
- Step 4 — Share your route: Open , click Share, and paste the post into Facebook groups, texts, email, or DMs.
- Step 5 — Preview your booking form: Completes automatically once your profile and first route are live.
What happens when I finish all 5 steps?
A brief celebration appears and the checklist is replaced with quick links to copy your booking link and preview your public profile. You're live.
Can I hide the checklist?
Yes. Click Dismiss to hide it from your dashboard once you're set up. If you ever want it reset, email support@petdrivr.com and PetDrivr can show the setup card again.
Profile and booking form
Turn your profile into a booking link.
Your public profile builds trust. Your booking form collects the trip, pet, and owner details you need before accepting a transport request.
How do I activate my booking form?
Go to (Profile tab). Complete your display name and phone number — both are required. Once saved, your booking form goes live at app.petdrivr.com/book/your-name.
Can I set a custom URL?
Yes. Go to and set a short slug like "jane-smith-pets." Your public URLs become app.petdrivr.com/operators/jane-smith-pets and app.petdrivr.com/book/jane-smith-pets.
Do I need my own website?
No. Your PetDrivr profile and booking form give you a shareable public page you can use like a simple website. Many operators start by sharing that link in Facebook groups, DMs, texts, and their social bio.
What photos should I add to my profile?
Start with a clear profile photo, then add up to 6 gallery photos in . Good choices include your vehicle, crate setup, clean transport area, equipment, and business photos that help a pet owner understand how you work. Avoid private client information and only use pet photos you have permission to share.
How do I preview my public profile?
Go to and click View public profile. Check your photos, bio, service area, accepted pet types, credentials, vehicle details, and booking link before you start sharing it.
How do accepted pet types show on my profile?
Choose the pet types you transport in . Your public profile shows simple chips such as Dogs, Cats, and Birds & more so owners can quickly see whether you are a fit.
Can I show that I transport nationwide?
Yes. In , choose Nationwide when you serve clients across the country. You can still add specific regions or states when that describes your business better.
What information does the booking form collect?
Trip details, pet details, and owner details — all in three steps:
- Step 1 — Trip: pickup address, dropoff address, preferred date, date flexibility
- Step 2 — Pet: name, species, breed, age, and weight. Additional pets can be added.
- Step 3 — Owner: name, phone, email, how they heard about you, terms agreement
When do I collect extra trip details?
After you confirm the booking, PetDrivr emails the pet owner a short optional trip-prep form. They can add crate preference, medications or special-care instructions, and travel notes without making the first booking request feel like homework.
Can someone report a profile?
Yes. Public operator profiles include Report this profile. Anyone can report inappropriate photos, misleading information, spam, harassment, or another concern. PetDrivr receives the profile URL, reason, optional details, and the reporter's account information when they are signed in.
Can I add my own transport terms?
Yes. Guided setup includes starter booking terms and one-click helper buttons for common notes like deposits, cancellations, pickup timing, and payment methods. You can also go to , scroll to the Booking System section, and edit your Booking terms anytime. Clients must agree to your terms before they can submit a request.
Bookings
Manage requests from one dashboard.
Booking requests come into your dashboard with the trip, pet, and owner details already structured. You confirm, cancel, or add notes — PetDrivr sends the emails.
Where do I see booking requests?
Go to in the top nav. New requests show as "Pending." Your Dashboard overview also surfaces any bookings that need attention.
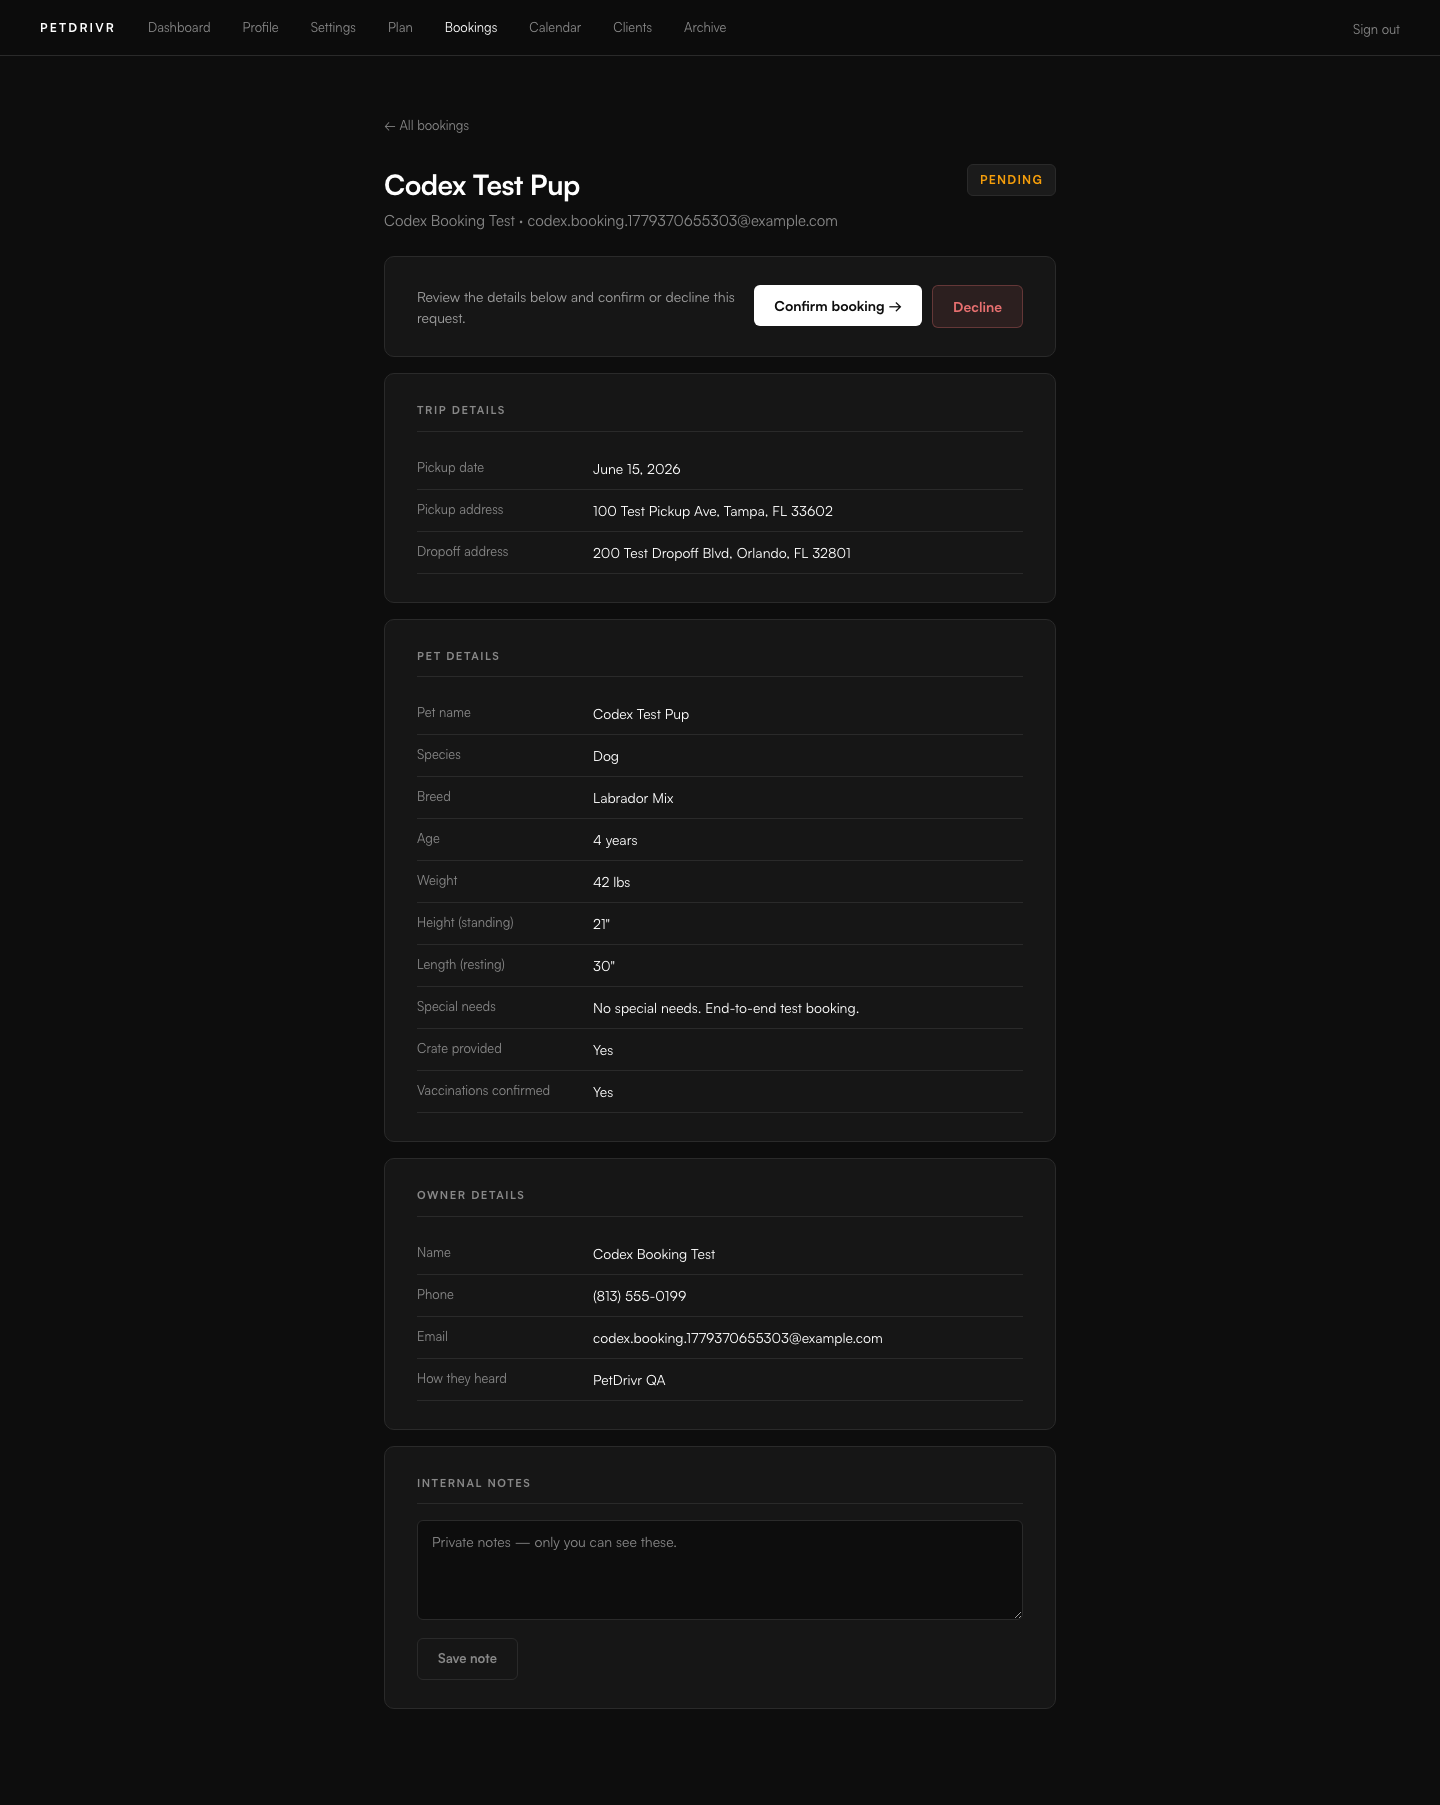
How do I respond to a booking?
Open the booking and review the trip, pet, and owner details. For a new request, choose Send quote, Confirm without quote, or Decline. You can also add internal notes visible only to you.
What happens when I send a quote?
Enter the price and an optional message. PetDrivr emails the client a private status page where they can review and accept the quote. Accepting does not charge them. After they accept, open the booking and click Confirm booking to lock it in.
Do clients get confirmation emails?
Yes. PetDrivr sends confirmation when they submit, a reminder before the trip, and a review request after. No setup required — see the Automated emails section for the full list.
Can I manually add a booking?
Yes. For a phone call, open and enter the client's name, phone, route, and date while you are talking. PetDrivr creates a pending booking so you can finish details after the call. Use when you want the full operator form immediately. A client record is created or matched when you add the owner's email.
Should I log bookings that come in by phone or text?
Yes. Log every booking through PetDrivr, even phone calls. Once you confirm the booking, the same automated confirmation, trip-prep, reminder, and review emails fire regardless of how the client found you.
How does Rebook work for repeat clients?
Open any past booking and click Rebook. PetDrivr opens a new booking with owner, pet, and common trip details pre-filled. Update what changed (usually date, addresses, or price) and save. This is the fastest way to create repeat bookings.
What is the booking lifecycle?
The standard quote-first flow is Pending → Quoted → Accepted → Confirmed → In transit → Complete. You can also confirm without a quote, revise a sent quote, decline a request, or reopen a cancelled booking.
Do pet owners need an account to check status?
No. Owners get a private booking status link in their emails. They can open that link anytime to see the current status without logging in.
What emails are sent when I update status?
PetDrivr sends owner updates automatically when you mark a booking Confirmed, In transit, and Complete. Each update includes the booking status link.
Can I reopen a booking I cancelled?
Yes. Open the booking and click Reopen booking. This moves it back to Pending — no email is sent to the client automatically. Reach out to the client directly first, then confirm from your dashboard once they respond.
Is there a calendar view?
Yes. Go to in the top nav. It shows confirmed bookings by pickup date in a monthly grid so you can see what's coming up at a glance.
Status updates in 2 taps
- Open a confirmed booking in Bookings.
- Click Mark in transit when pickup starts.
- Click Mark complete at delivery.
- PetDrivr sends each owner their update automatically.
Repeat booking in under a minute
- Open any prior booking from Bookings or Clients → Booking history.
- Click Rebook.
- Review the pre-filled owner and pet data.
- Set the new pickup date and any updated route details, then create the booking.
Clients
Your client database — all in one place.
Every booking automatically creates a client record. You can also add clients manually, import from a spreadsheet, and book directly from a client's profile.
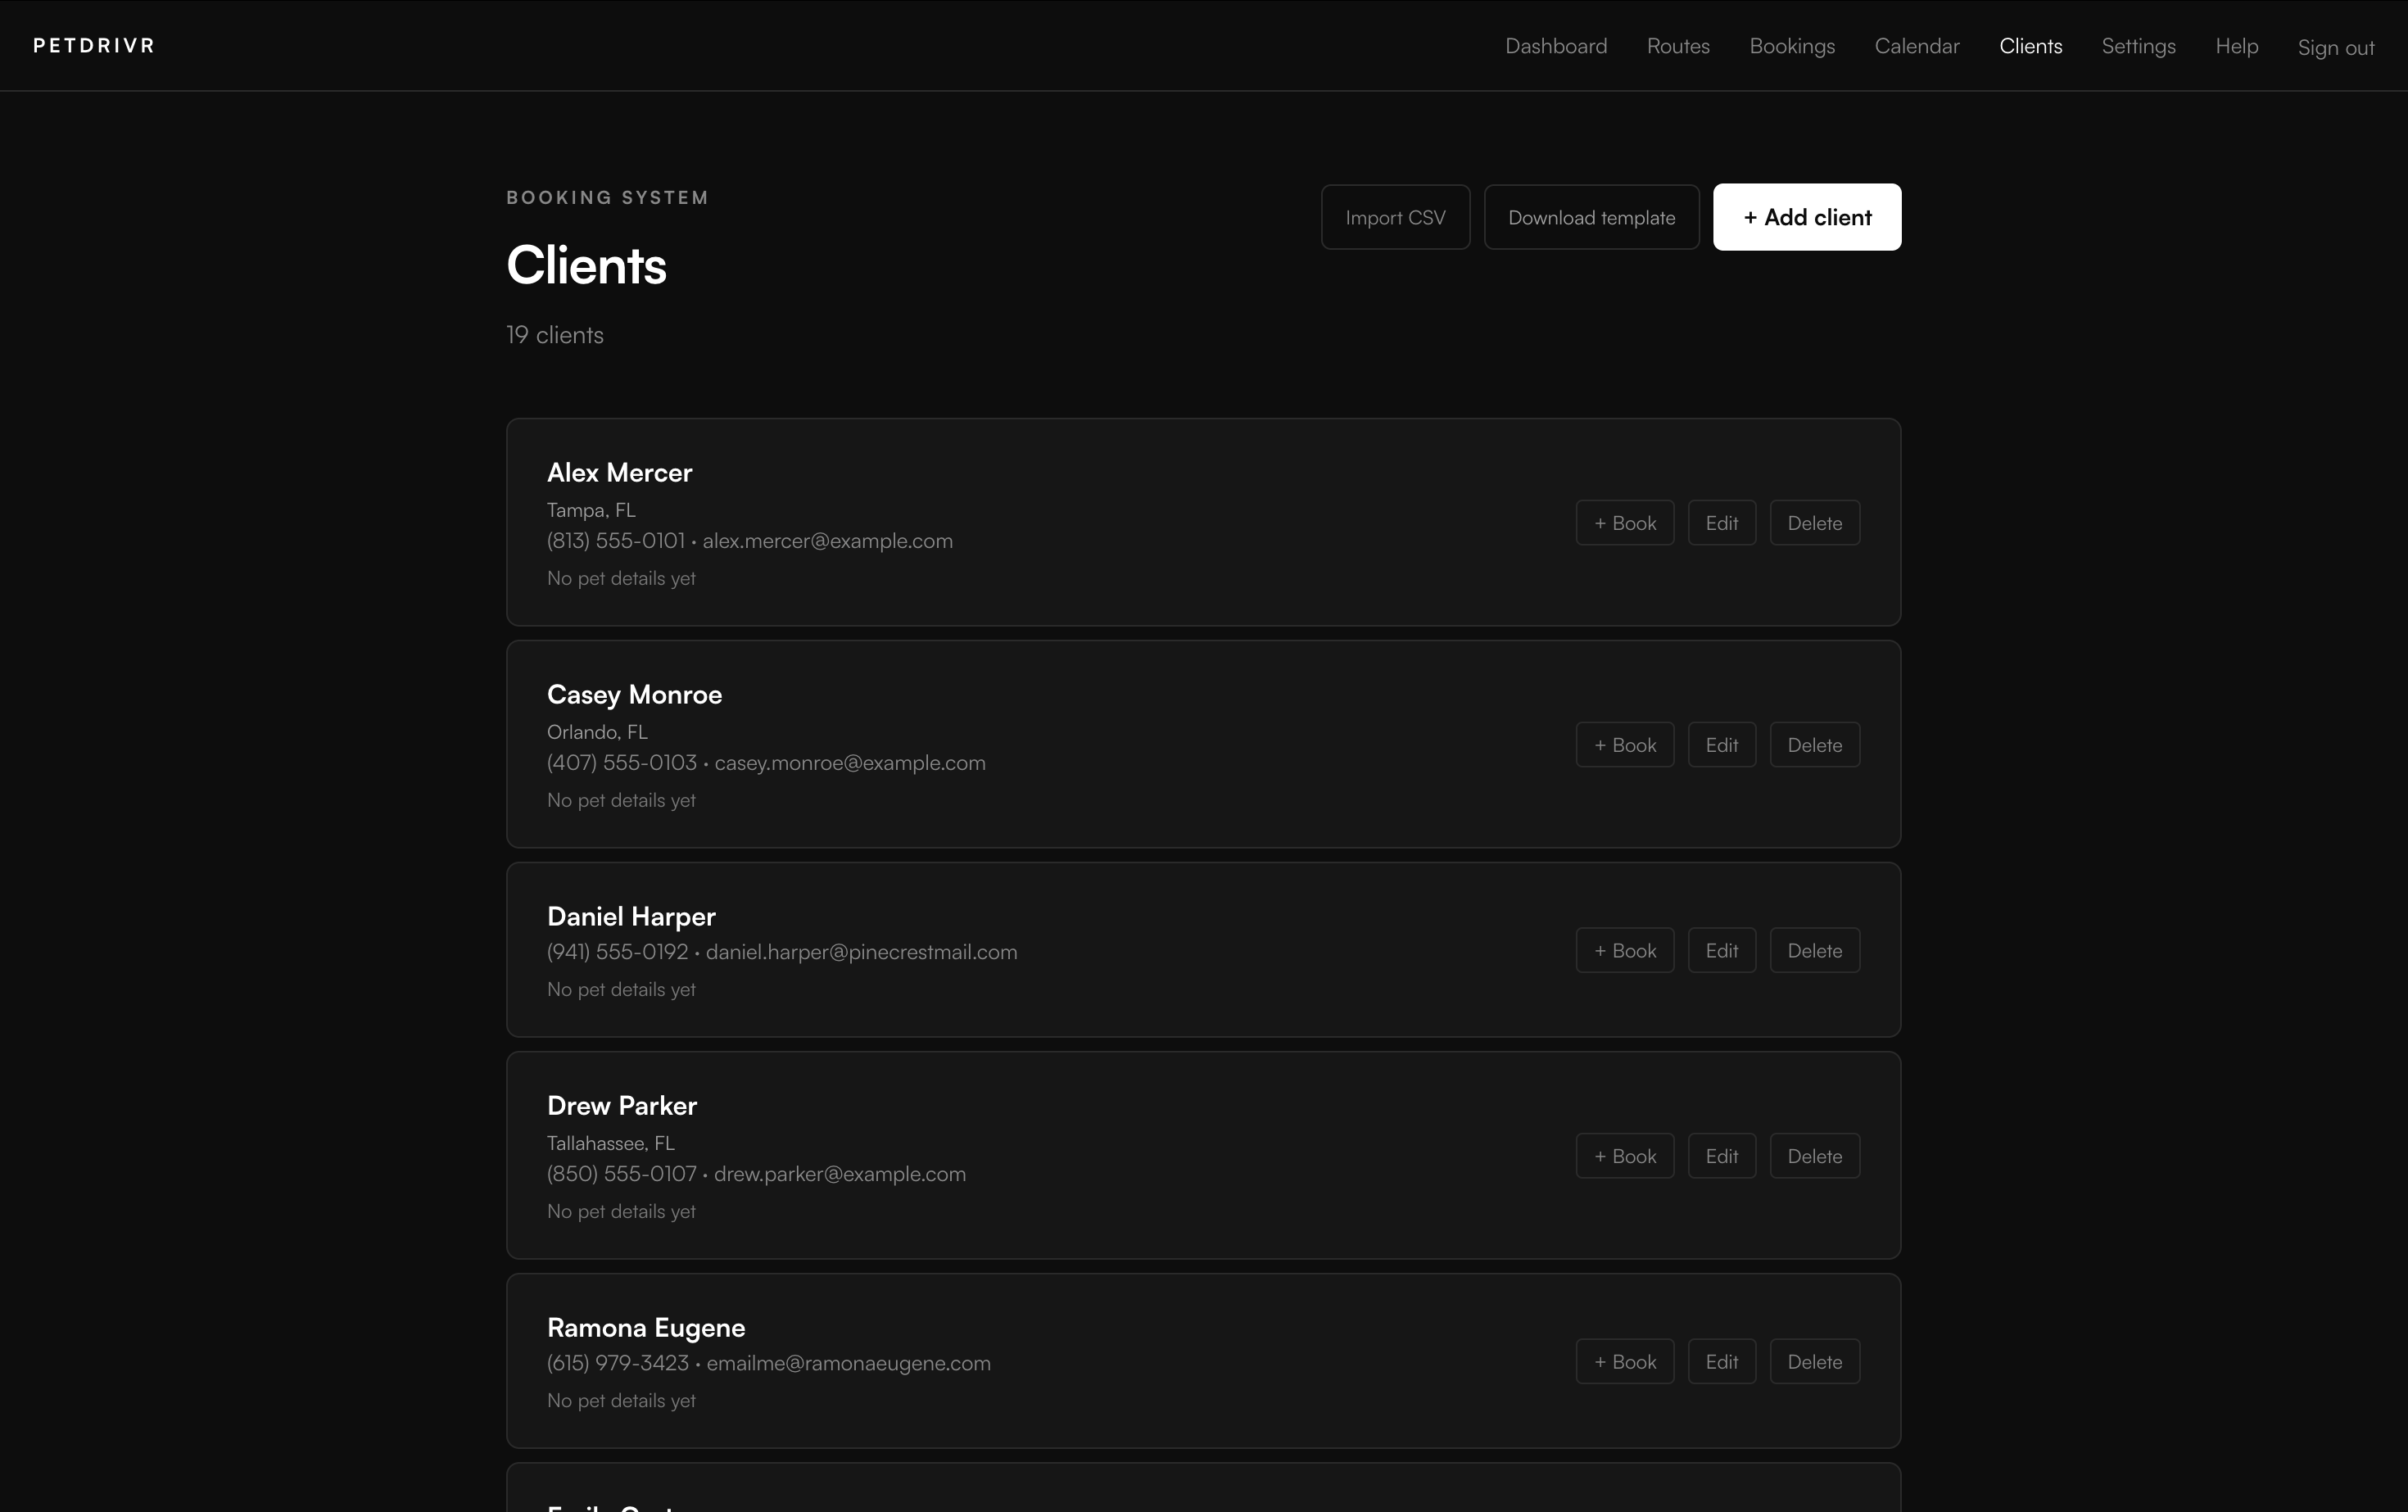
Where is my client list?
Go to in the top nav. You'll see every client along with their contact info, pet details, and how they came in (booking form, manual entry, or CSV import).
How do I add a client manually?
Go to . Fill in the client's name, contact info, address, and pet details. You can add multiple pets per client. Client name is the only required field.
What client types are available?
When adding or editing a client, you can set a type to keep your list organized:
- Individual / Pet owner
- Rescue
- Kennel
- Trainer
- Vet / Clinic
- Breeder
- Other
Can I add multiple pets to a client?
Yes. In the Add client or Edit client form, add a primary pet first, then click + Add another pet to add additional pets. Each pet can have its own species, breed, age, weight, medications, and special needs.
How do I import clients from a spreadsheet?
Go to . Upload a CSV file with your existing client data. PetDrivr will preview the first 5 rows so you can confirm everything looks right before importing. Click Import [n] clients to complete.
What format does the CSV need to be in?
Download the template from . The template has all the right column headers: name, phone, email, street, city, state, zip, company name, client type, pet name, pet species, pet breed, pet age, pet weight, notes. Fill it in and import.
How do I create a booking from a client record?
Find the client in your list and click the + Book button on their row. This opens the New booking form with that client's details pre-filled — you only need to add the trip dates and addresses.
Are clients created automatically from bookings?
Yes. When a pet owner submits your booking form, PetDrivr checks if their email already exists in your client database. If not, a new client record is created automatically. Same when you add a manual booking — enter an email and a client record is created or matched.
How do I edit or delete a client?
Find the client in your list and click Edit to update their details, or Delete to remove them permanently. Deleting a client does not delete their associated bookings.
Routes
Post the corridors you are already running.
Routes live on your profile as clean public pages you can share in Facebook groups, texts, referrals, and direct outreach. Public routes can also pick up extra visibility in search.
How do I post a route?
Go to . Add your origin, destination, date, available slots, pricing preference, and transport type. You can also add pickup and drop-off area radiuses when you serve nearby clients, such as within 30 miles of Tampa or Orlando.
How do I edit or remove a route?
Go to , find your route, and select Edit. Use Pause to temporarily hide an active route, Mark filled when its slots are gone, or Archive to move it out of your working list. Archived routes are accessible from .
What is a route stop?
A route stop is an intermediate city on your corridor. Adding stops lets pet owners in those cities find your route when they search.
Can I share a route directly?
Yes. Each route has a share tool that generates a link and a branded card image you can post in Facebook groups or send as a DM. Share copy is editable, so you can keep it quote-first or add a simple price line when needed.
Are route locations cities or exact addresses?
Use cities and states when you post a public route. A route is a corridor you plan to run, not a client's private booking. When a pet owner submits your booking form, they enter the exact pickup and dropoff addresses for their trip.
Can PetDrivr suggest an advertised route price?
Yes. Save your rate profile first. When you post or edit a route, click Suggest price from my rates. PetDrivr calculates a starting price from your route mileage. Adjust it as needed, or use Clients contact me for pricing for multi-stop or variable trips.
Achievement badges
Badges that build trust on your public profile.
Achievement badges appear on your public profile and your booking form header. They are earned automatically — no application needed.
PetDrivr Pro
Awarded automatically to operators on an active paid plan. The blue circle checkmark next to your name on your profile and booking form signals to pet owners that your account is active and verified by the platform.
Top Rated
Awarded when your review score ranks you in the top tier of operators on the platform. Keep response times low and clients happy and this badge will follow.
Booking milestones
Milestone badges mark your first booking, 10 bookings, 50 bookings, and 100 bookings. They appear on your profile automatically as you hit each milestone.
Where do badges show up?
On your public operator profile at and in the header of your booking form at . Pet owners see them before they submit a request.
Pricing tools
Keep pricing simple with a quote-first workflow.
Most operators use PetDrivr as a booking system first. Collect trip details, then confirm final pricing directly with the client.
What pricing approach works best?
Quote-first is the recommended default. Keep route pricing set to Contact for pricing, gather booking details, and send a final quote from your dashboard.
Can I still publish a simple price?
Yes. If you prefer, set a route price per pet. If pricing varies by leg, pickup area, timing, or pet needs, use Contact for pricing instead.
How should I use the share tool?
By default, share copy is quote-first. You can edit the text before posting and add a simple pricing line when you want, but most operators keep shares focused on route details plus “contact for quote.”
Calculator and rate profile
Set your rates once, then quote faster.
The in-app calculator uses your saved pricing method to calculate mileage, show an itemized estimate, and generate quote text you can send to a client.
Where is the calculator?
Go to in your dashboard. Enter pickup, dropoff, any stops, and the number of pets. Then click Calculate. Your saved rates load automatically each time you visit.
What should I enter for pickup and dropoff?
Use the actual trip locations you are quoting. Start typing and select the Google autocomplete suggestion when it appears. For a quick estimate, a city and state works. For a client-specific quote, use the full addresses.
How do stops work?
Click + Add stop for each extra pickup, dropoff, or planned leg. PetDrivr calculates each leg and shows the mileage by leg plus the total. Empty stop fields are ignored.
What does the large pet count do?
If you set a Large / oversize pet surcharge in Advanced rates, the large-pet stepper adds that surcharge to the estimate and shows it in the breakdown.
What is Simple mode?
Simple mode keeps setup focused on the basic rate fields for your pricing method: Per mile, By time, or Flat rate. Start there if you want a quick working estimate.
What is Advanced mode?
Advanced mode adds time assumptions and optional add-ons such as per-stop fees, large-pet surcharges, fuel surcharge, and minimum charge. Use it when your real quoting process needs those details.
What does Copy quote include?
The copied estimate includes the route, mileage, pet count, large-pet count when used, stop count, price, and a note that the estimate is subject to final booking confirmation. Paste it into a text or email and edit anything you want.
Is there a calculator without login?
Yes. Share petdrivr.com/calculator.html with any transporter who wants a free no-login calculator. It saves rates in that browser so they are restored on the next visit.
Billing
One plan after the trial.
PetDrivr is $29/month after the 14-day free trial, or $290/year if you choose annual. There is no setup fee and no commission on bookings.
How much does PetDrivr cost?
$29/month or $290/year after the 14-day free trial. No setup fee, no commission on bookings.
How do I add payment?
Go to and choose annual or monthly billing. You'll be taken to secure Stripe checkout.
How do I cancel?
Go to . If you cancel, you lose booking form access after your current period ends — but your profile, routes, and booking history remain saved. You can reactivate anytime from the same page.
Does PetDrivr take a cut of my bookings?
No. You keep 100% of what you earn. PetDrivr only charges the flat software subscription.
Automated emails
PetDrivr sends client emails for you.
PetDrivr sends automated emails to your clients on your behalf so each booking keeps moving without manual follow-up.
Booking request confirmed
Sent to the pet owner immediately after they submit your booking form.
New booking request
Sent to you immediately after a new booking form submission comes in.
Quote sent
Sent to the pet owner when you send a price from a pending booking. The email includes the private quote page and Accept this quote button.
Quote accepted
Sent to you when the pet owner accepts your quote. Open the booking and click Confirm booking to lock it in.
Booking confirmed
Sent to the pet owner when you confirm the booking in your dashboard.
Trip prep request
Sent to the pet owner after you confirm a booking. The short optional form collects crate preference, medications or special-care instructions, and any travel notes you should know before pickup.
In transit update
Sent to the pet owner when you mark a booking as In transit.
Delivered update
Sent to the pet owner when you mark a booking as Complete.
48hr pickup reminder
Sent to the pet owner 48 hours before pickup for confirmed bookings.
Review request
Sent to the pet owner after the dropoff window so they can leave feedback.
Cancellation notice
Sent to the pet owner if the booking is cancelled.
You can see exactly what was sent on each booking in . That timeline shows each message type, recipient, and timestamp.
Account
Password, deletion, and support.
Use Settings for all account controls. The Settings page has three tabs: Profile, Account, and Billing.
How do I change my password?
Go to . Enter your new password twice and save.
How do I update my display name?
Go to . This is the name shown in your dashboard header — separate from your public business name set in Profile.
How do I delete my account?
Go to . Type DELETE to confirm. This removes all your data permanently — routes, bookings, clients, and reviews — and cancels any active subscription. This cannot be undone.
I need help with something not listed here.
Email support@petdrivr.com. Include the page you're on, what you expected to happen, and what happened instead. Screenshots help.
Need a hand?
Email the page you are on, what you expected to happen, and what happened instead. Screenshots help when a dashboard value, email, or booking request does not look right.